A SCAD Short Film


PROCESS
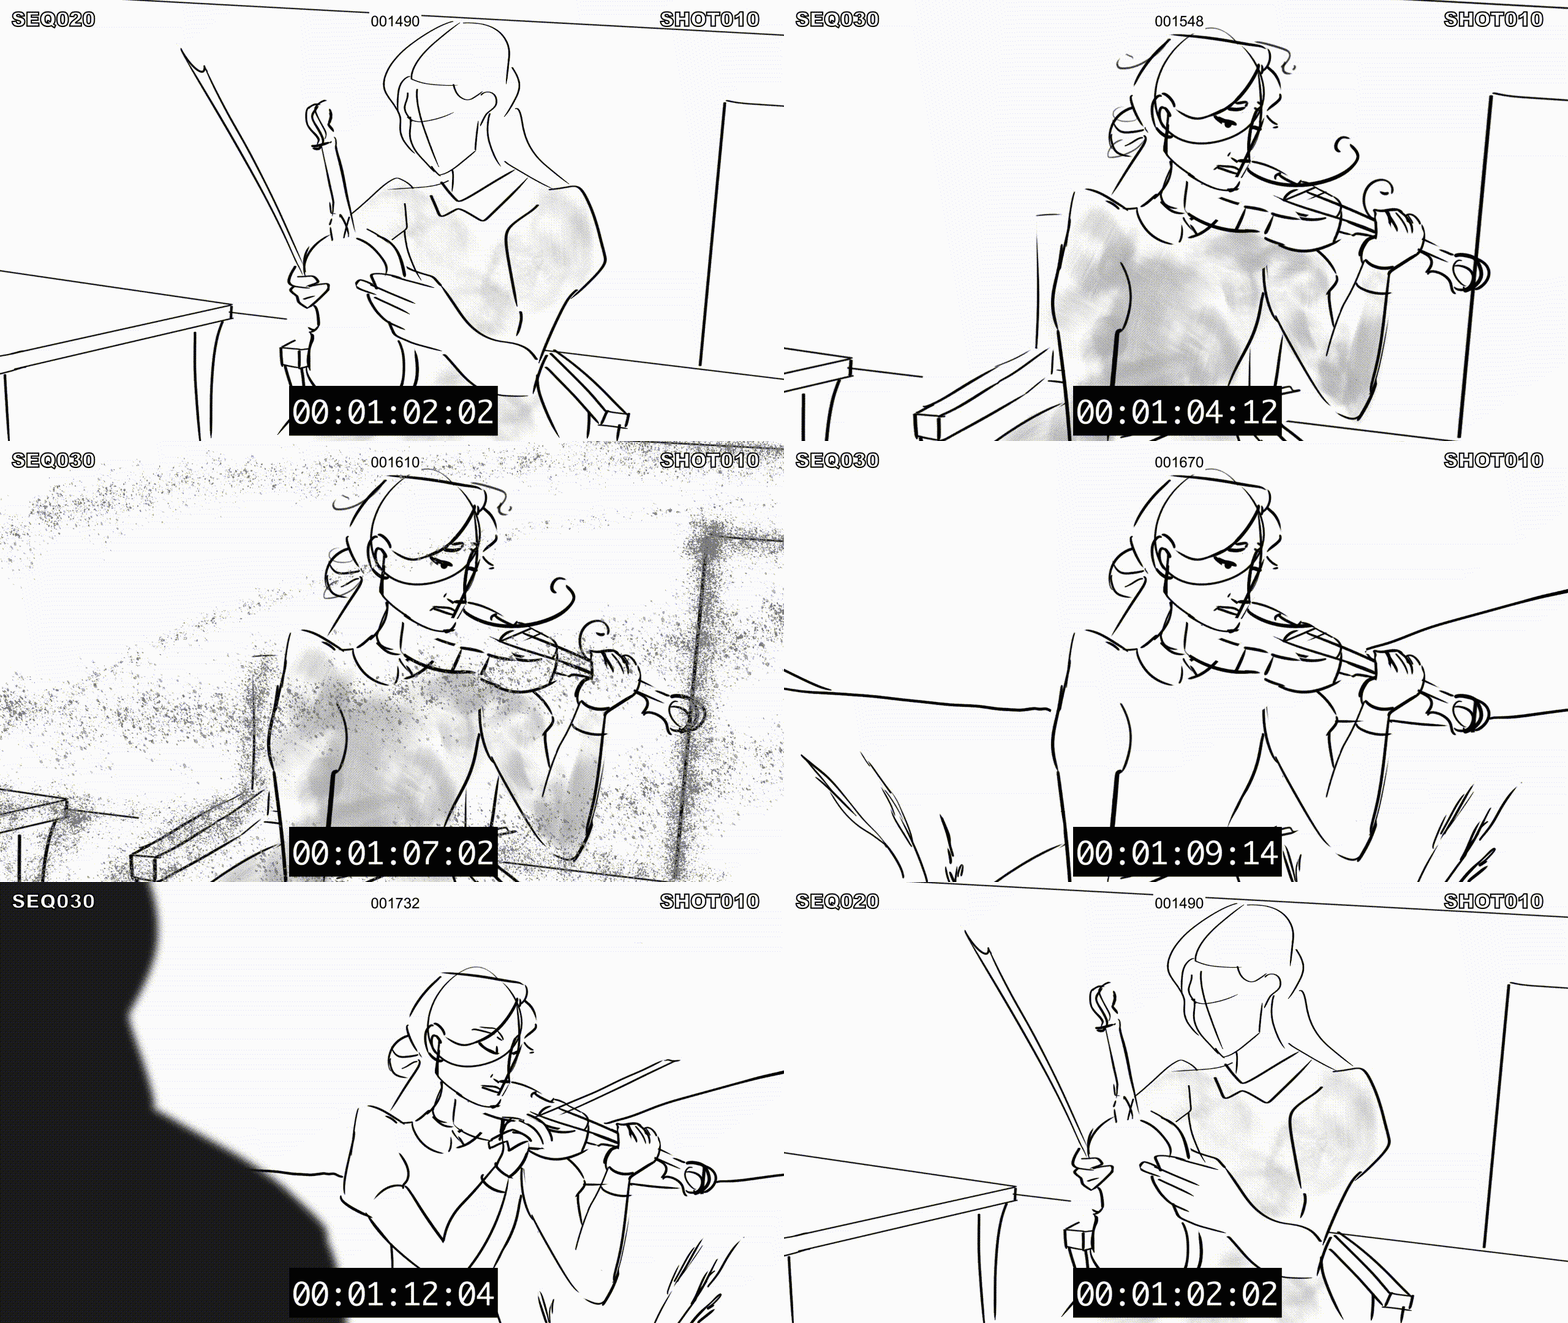
Animatic


Texturing
"How did we end up using MASH to get the painted effect? Well, first we had to know that we wanted a painted stylization for our film. From there we experimented with several different plugins, though the additional pipeline work was entirely infeasible for our production. Then we decided to try some ai tools to sample and “paint over” the shots, but the look was too washed out and lost a lot of detail that we didn’t have sufficient control over. Instead I decided to use mash to scatter cards across every face of the model and then using color attributes they inherited the color from whatever surface the reproMesh was bound to. From there it was as simple as controlling the shape of the card with several alphas and a few facing ratios so that the cards would feather out and only populate the edges of what they were applied to. Overall the cards worked great on deformations, though towards the end when you had a lot of blendshapes interacting with each other and the MASH shader install on top of that you could run into some issues where the cards would float off of the desired mesh, this lead to a little bit more heavy of compositing work, but overall the effect helped to break up the edges of the models and lend to the painted aesthetic."
-Noah


"Heartstring’s texturing pipeline was one of my favorite phases of the film due to our vision being so open and experimental. Being a stylized, hand-painted film, we had a lot of room to play with elements like brush strokes, unconventional color, painted-on details, painting style, etc. As the texturing lead, I was honored to make many stylistic decisions for the look of our characters and environments with the help of creative input from the film team. Many of these decisions were ultimately inspired by Irish oil paintings and impressionist art. Texturing our characters, Ailidh and Eamon, involved a process much like traditional 2D painting, in which I treated the 3D models as 2D canvases, painting on shadows, wrinkles, and details as if they were static art pieces; this approach lent itself to an emphasis on painting the actual UV shells in a 2D view of the characters rather than the 3D geometry in order to feel like I was painting on an actual canvas. Environment and prop modeling were particularly experimental in nailing down the look of Ailidh’s world. The final pipeline for the environments typically involved beginning with a fairly realistic texture preset or reference of some sort in order to establish the material nature of the asset. Then, dozens of layers of hand-painted details were stacked on top of this foundation in order to bring the piece into our stylized world. In a more technical light, curvature and ambient occlusion maps played a huge role in our film, defining convexity/concavity and simulated shadow color; this was particularly important since our film lacks specularity, another stylistic decision, which is typically responsible for catching these details through reflections. In summary, the texturing of Heartstrings barely felt like part of a 3D pipeline and more like a digital painting project, making it an unforgettable undertaking."
-Sam
Animation
"Getting the characters’ emotion across without the use of speaking was especially important in this film. Letting the sound of the violin carry the emotion was the driver for my animation. Ailidh was very elegant in her movement and each step is made with intent. After listening to the music to understand the tone of the scene, I would shoot references of myself to lock-in the body movement. I had fun using a scrabble box and a strip of long cardboard as my stand-in violin and bow prop. The tricky part was re-membering the techniques on how the violinist would play. Synchronizing the violin animation to the songs made the animation feel alive and I am glad it worked out so well. It was necessary because of how important music is to Ailidh. For the final touch for each violin scene, I studied our violinist, and was able to copy the proper finger poses for each note. My favorite scene I animated was the final scene in the film. Her exiting the tenement was such a fun and educa¬tional experience I will never forget."
-Nicole Duerr

Lighting
"I researched for sunset photography when I knew I have to light the exterior scene on the cliff. I was not sure about them at first, but after trying a few HDRI and Arnold ai physical sky, I found a decent result. I had an orange light as the key light. However, I also put some purple and pink lights as the fill light and the back light. They add some color variation in the shot when the key light creates a soft shadow on the protagonists. Since we are shooting for a realistic lighting style, I always keep in mind where the sun is, then match it in every shot. Overall, I am pleased that I got the scene lighting set up done, and I feel lucky that I have a chance to light a sunset sequence. "
-Rongchen


"When lighting certain scenes for Heartstrings I tried to keep the emotional narrative in mind. For instance, the shots of Ailidh by her father’s grave in Ireland show Ailidh at a major turning point in her life-one that marks the end of what was a lovely life spent in the countryside. I chose to use more pink hues to light the rising sun and day in these scenes as I felt this would better reflect her somber sweet memories of Ireland. While most of the lighting for the film is limited by her gloomy tenement environ¬ment, it is nice to see that as her father’s ghost renews her with hope and confidence, her spirits are uplifted and by the end of the film the outside world is once again lit brightly. For the last shot of the film—where she walks outside her apartment with her case in hand, I used a gridded-gobo effect on a volumetric lighting system to create rays of light that envelope her silhouette and beam into her room to demon¬strate this positive emotional shift in Ailidh’s character."
-Ryan
Simulation
"Cloth simming for this film was a very time consuming task. We knew that when we started the cloth simming we wanted to keep the properties of the type of clothing our characters wore from the time period they were set in. We wanted to convey that these characters weren’t rich and that they wern’t wearing the highest quality of clothing. So we made sure that when we were creating the cloth sims for both Alidih and Eamon that they had clothing that was more stiff, less silk like, ect. They wore clothing for function and not style. The simmers for the Heartstrings team were incredibly talented and dedicated simmers. We made sure to to work our hardest to give our best work and to finish over 38 sims for our film. Dedicated to making a visually stunning and fluid film that was all around amazing."
-Nicole Keefe

Special Effects
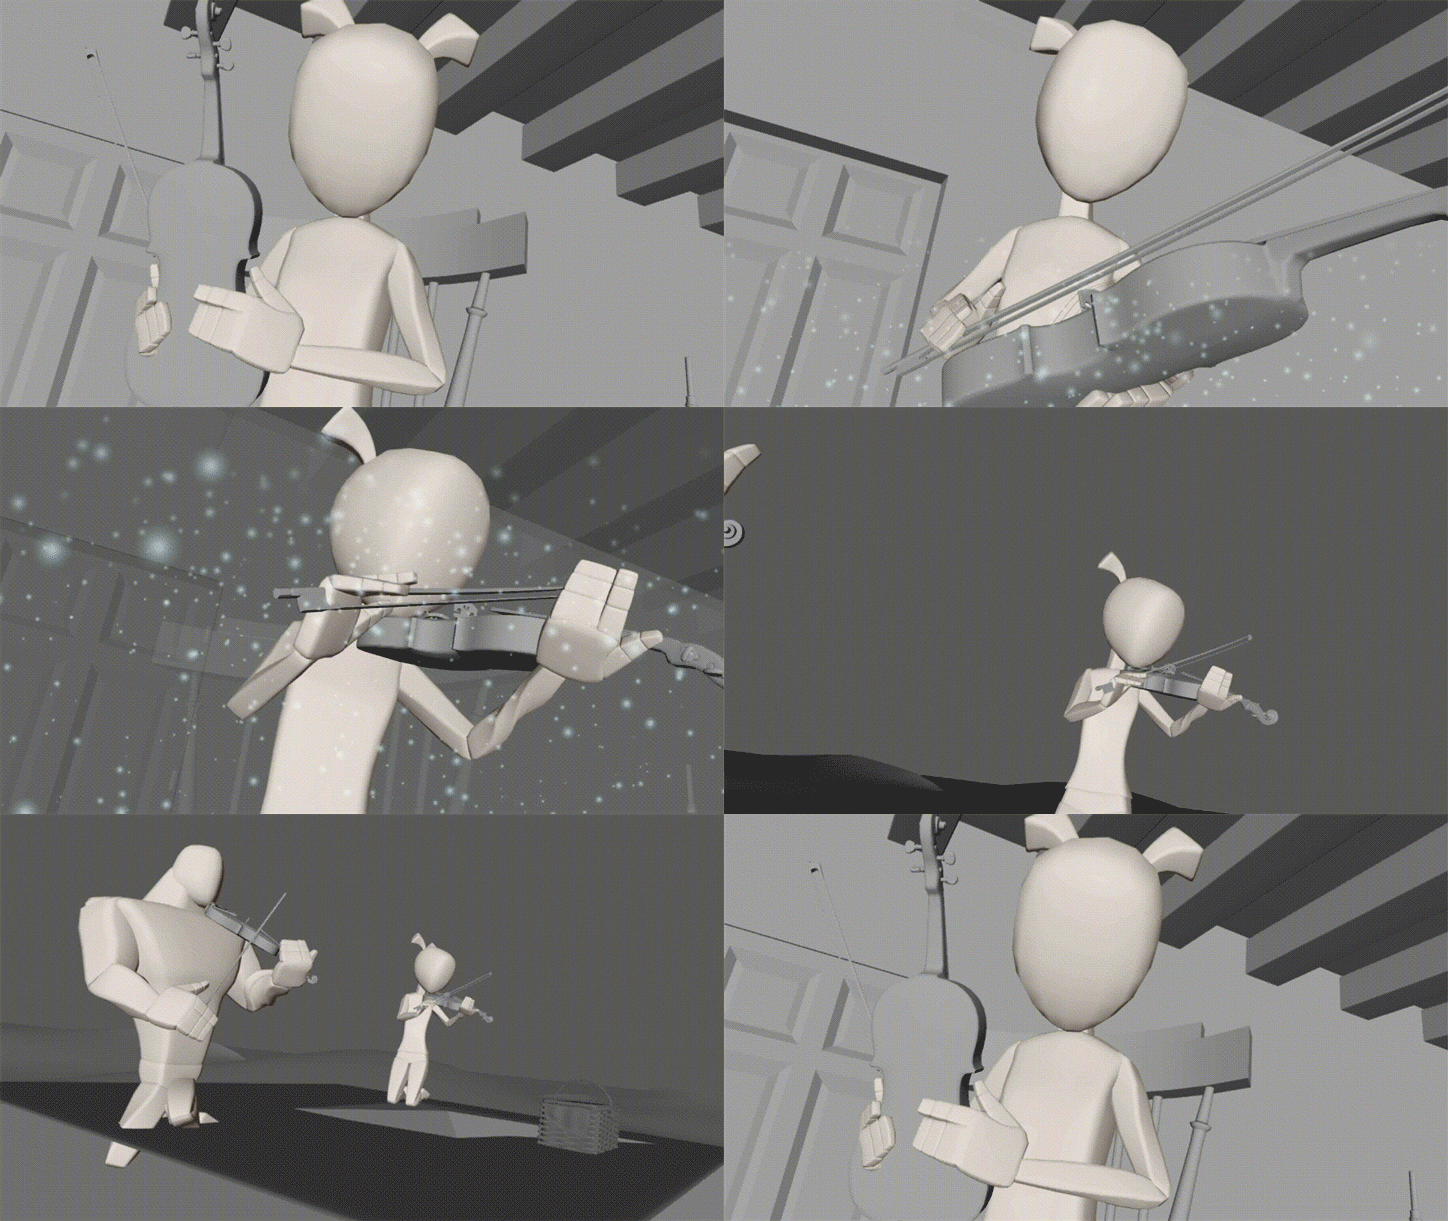
"The particle effects were created using nParticles inside Maya. I used Emit from Object when there were particles emitting from geometry, and used Create Emitter when the particles formed a trail. I made their Lifespan Random Rage and used Normalized Age with randomness on the Opacity Scale, Color, and Incandescence. The gravity and wind in the Nucleus were set to zero, and I used Time Attributes to control when the emission start. I used FX-Fields/Solvers to control irregular swirls of the particles. The one I used most is Volume Axis Field. I turned off Away from Center and adjusted Turbulence, Turbulence Speed, Turbulence Freq, and Detail Turbulence to get the best result. For the particle trails, I used two ways to guide the path they flew. One is to constrain, parent the sphere volume emitter to an animated sphere. The other is using Motion Trail, constrain a sphere to the trail until all the motion was finalized, then parent the emitter to the sphere. As for the shading, we decided to pick MultiPoint and add a blue-purple gradient to the particles for a magical feeling. After the particles were made, I assign every geometry with Surface Shader, so when the particles fly around them, they were mask-ready for compositing. When the particles were done, I rendered each group of them with Maya Hardware batch render, so they were ready to be composted. Our compositors handling particles with great talent, thanks to them, using all kinds of effects and masking in After Effects, they added life to the special effects of our film."
-Jing


